All Windows devices come with their own anti-virus – Windows Defender, but what is Defender For Endpoint, and how do we start pushing it out to our corporate devices?
Microsoft Defender for Endpoint is an enterprise-level security platform designed to help businesses prevent, detect, investigate, and respond to advanced cyber threats on their devices (also known as “endpoints” — like computers, laptops, and mobile devices).
Key Features:
- Threat Protection – Detects and blocks malware, ransomware, and other types of cyberattacks.
- Endpoint Detection and Response (EDR) – Monitors activities on devices to spot suspicious behavior and helps investigate attacks.
- Attack Surface Reduction – Limits the ways attackers can get into systems (e.g., controlling app behavior or blocking malicious websites).
- Automated Investigation and Response – Uses AI to analyze threats and take action without needing manual input every time.
- Threat Intelligence – Uses data from Microsoft’s global threat database to identify new and emerging threats.
It’s like a smart security system for all company devices — watching for problems, alerting IT teams, and even taking action automatically to keep everything safe.
Providing you have the correct licenses, this post will show you how I push out Defender for Endpoint with devices enrolled into Intune.
We will be in a couple of Microsoft Admin Portals, Security (https://security.microsoft.com/) & Intune (https://intune.microsoft.com/).
Head over to your Admin Intune Portal > Endpoint Security > Overview. Within Overview, you should see the Defender for Endpoint Connector Status as unavailable;
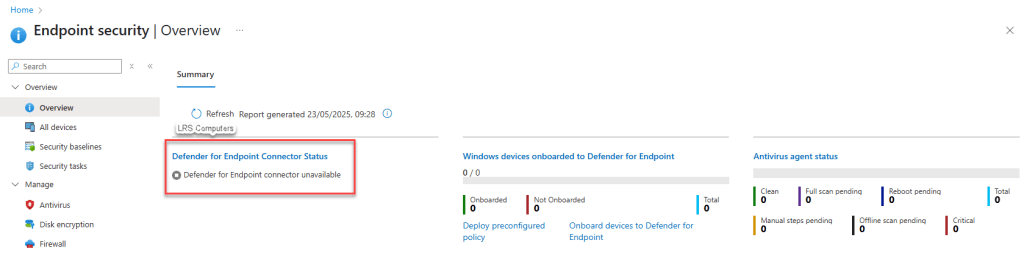
This is normal for now, but we need that status to be Enabled.
If you have just purchased your licenses that unlock Defender for Endpoint, you will be greeted by the following;

I have seen this screen either take 10 minutes or 60 minutes, go make a coffee, leave it churning away and come back to it.
Setup Process
Once the ‘new space has been prepared’ – this should be the next screen you see – Welcome to Microsoft Defender for Business > Get Started;

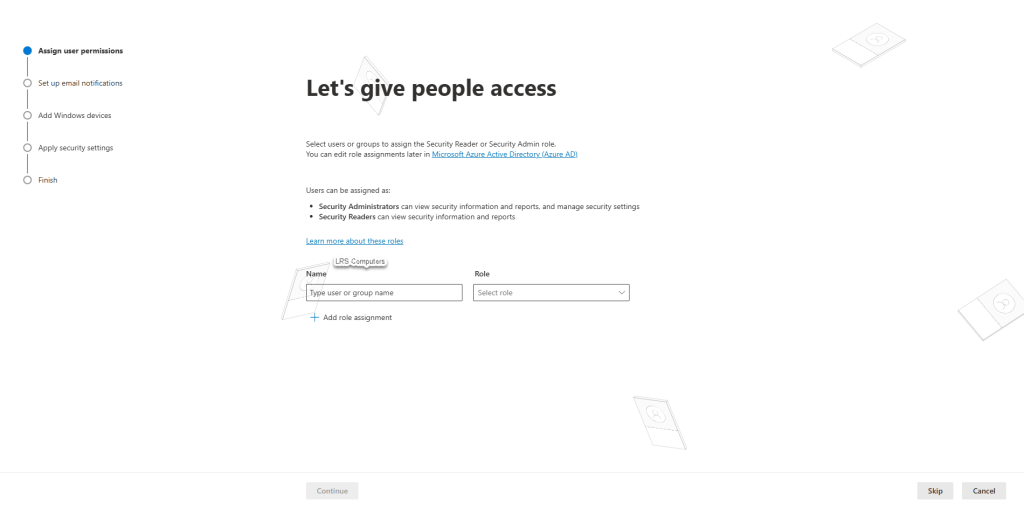
Let’s give people access – you may have staff members internally, that you don’t have Global Admin roles but you want them to be able to manage Defender for Endpoint to a degree – at this prompt, you can either give some Security Administrator or Security Reader permissions, more information – Microsoft – Defender for Cloud.
For us, we skip this step;
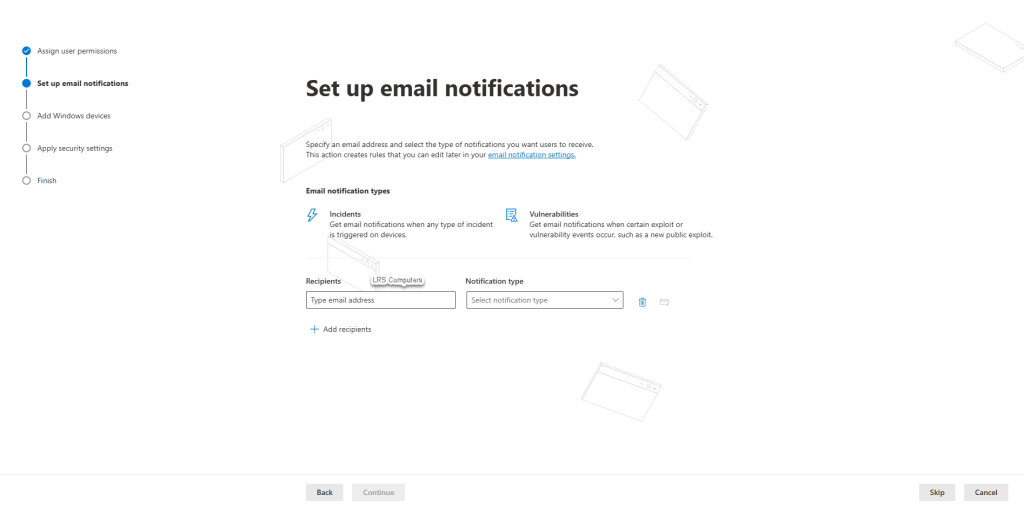
Email notifications, again, this is down to your own practices and requirements. You may have a shared mailbox, or a specific user you want alerts to go to or you can skip;
Now, if you don’t have devices enrolled already into Intune – you’ll get the following;
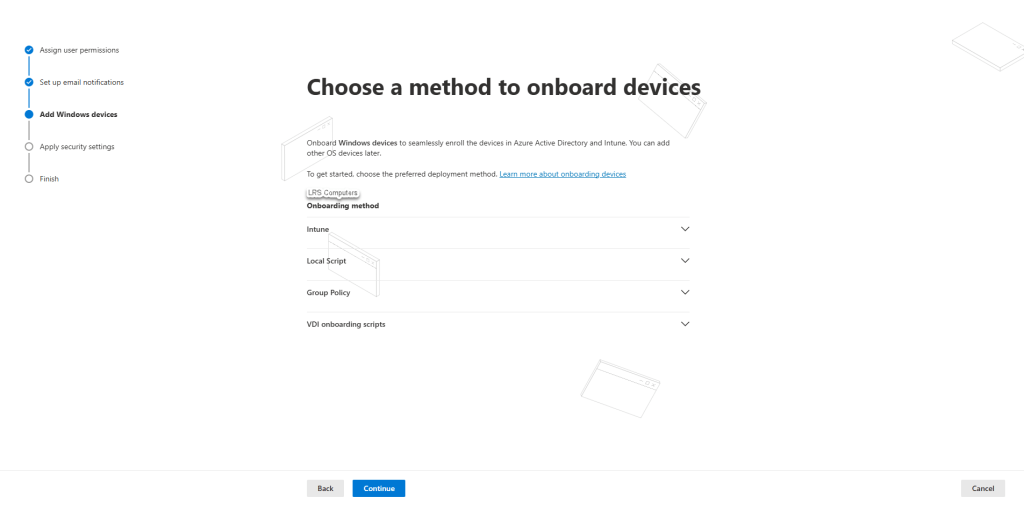
At this stage, and for ease I’d recommending hitting Cancel (as you can come back to the setup) and getting at least one device enrolled with Intune. Once you’ve got one device, the prompt above changes from that to this;

You are now prompted with enrol All Devices. The benefit of this, when you onboard any new devices going forward, Defender for Endpoint automatically gets pushed out.
For me, it creates an ease, it creates automation – it is one less step to think about going forward.
After hitting Continue > Apply security settings;
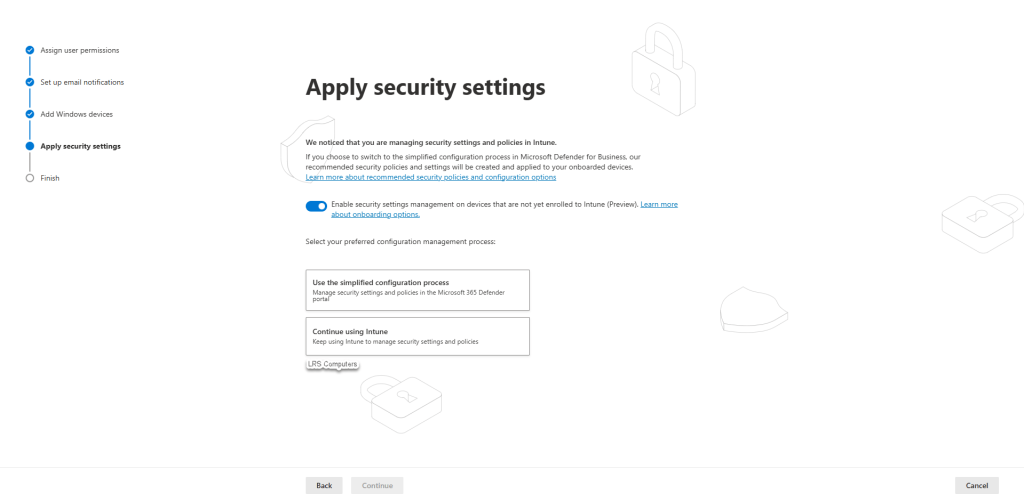
You get two options; Use the simplified configuration process or Continue using Intune. Because this guide is about Intune, I’d recommend going with the Intune option.
This means going forward, if you wish to create Policies, Exclusions, Rules for Defender for Endpoint, it’s all done within the Intune Portal > Endpoint Security.
Finally press continue > submit;
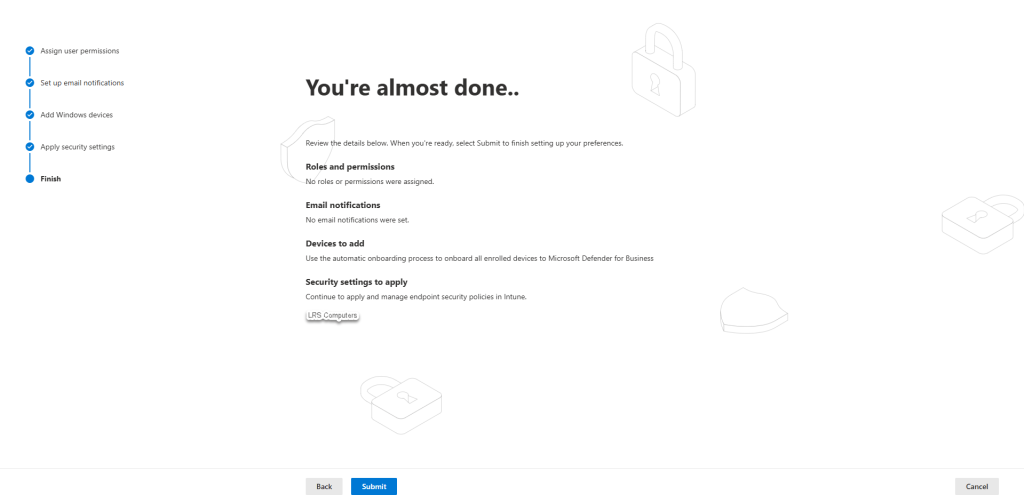
Defender for Endpoint is now set up with Intune.
How do I know it’s done?
We can check again, in either Admin Portals – Security (https://security.microsoft.com/) & Intune (https://intune.microsoft.com/).
Check the Connector in the Intune Portal > Endpoint Security > Overview, in the first screenshot, we saw the connector as unavailable, now it’s enabled;
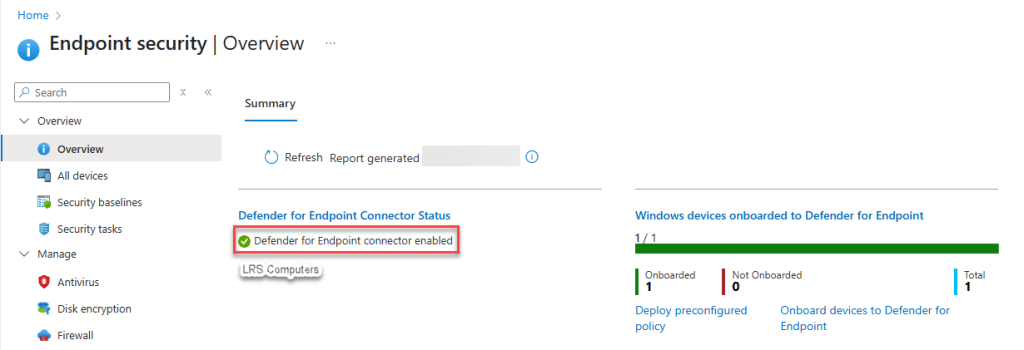
We can also see Windows devices onboarded to Defender for Endpoint, this should give you a ratio of how many devices you have in Intune and how many have Defender for Endpoint installed.
In the Security Portal > Assets > Devices.
Depending on how many Intune devices you have, you will see it slowly populate – please note this is NOT instant, it can take a few hours for devices to start appearing;

What’s next?
I’d personally now start setting up Anti-Virus Policies within Intune > Endpoint Security > Antivirus > Create Policy.
You can set policies that tell Defender how often to scan, what you want to scan, how long a threat stays in quarantine, enable tamper protection, and whether you want Defender to search for updates before scanning – there are many different configurations you can set.
If I get round to making policies, I will take screenshots and create a new post…

[…] In a previous post, I explained how we push out Defender for Endpoint via Microsoft Intune and the Microsoft 365 Admin Portal. (Intune Post) […]
LikeLike