Activating a Windows Server, should be easier than it looks. I find that when something requires a command to be ran in Command Prompt or a PowerShell Script to be triggered, it can be quite daunting to technicians.
If you don’t fully understand that command – you could be worried about the damage you may inflict.
In this post, I will show you how to activate a Windows Server (2022).
When you first install a Windows Server OS and get to the Desktop, you will notice a watermark like font explaining that you’re in a Evaluation version;
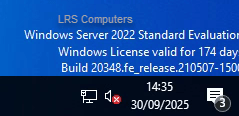
This is a free 180-day trial version. If you do not activate, after the 180-days you will experience automatic shutdowns at random times and be subjected to limited features.
Once you have purchased your Product Key, you need to open Command Prompt (CMD) as an Administrator and insert the following;
DISM /online /Set-Edition:ServerStandard /ProductKey:XXXXX-XXXXX-XXXXX-XXXXX-XXXXX /AcceptEula
Replacing the Xs with your Product Key.
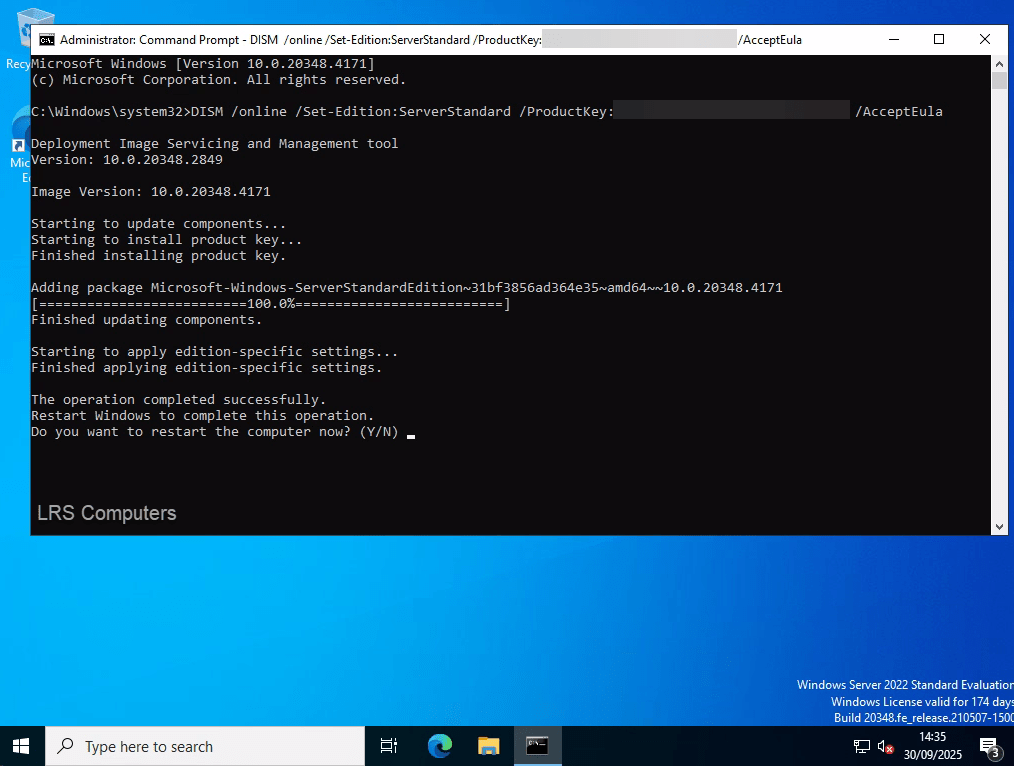
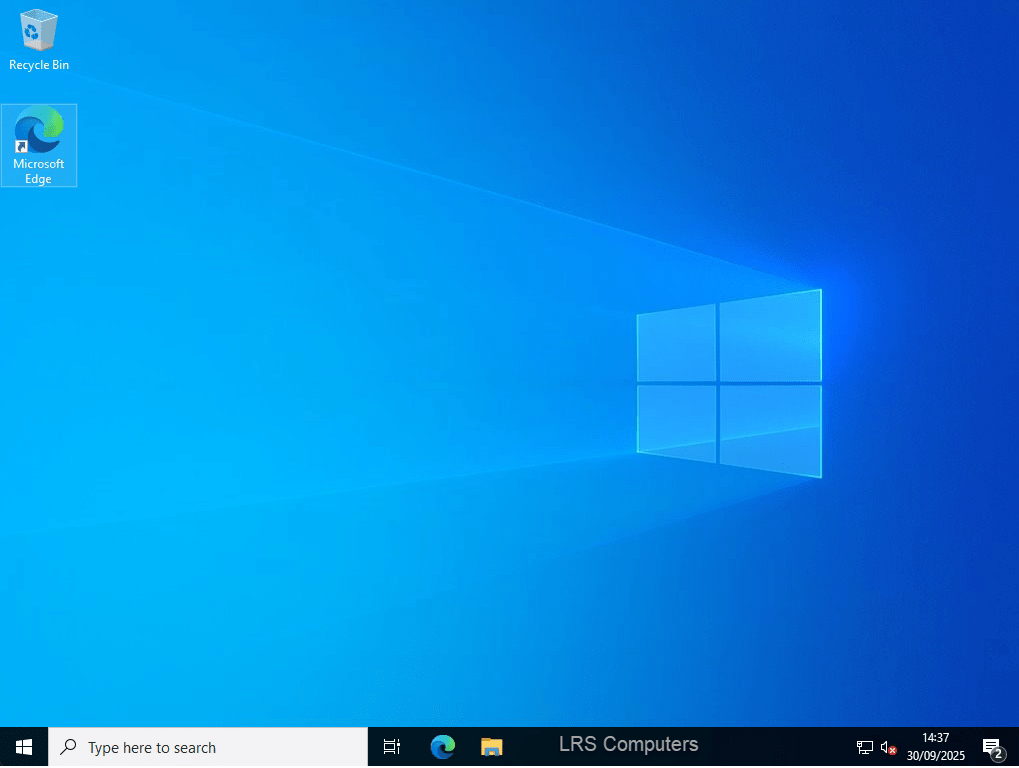
Once it is run, it will ask you to restart your server. After a restart you will notice the ‘watermark’ gone;
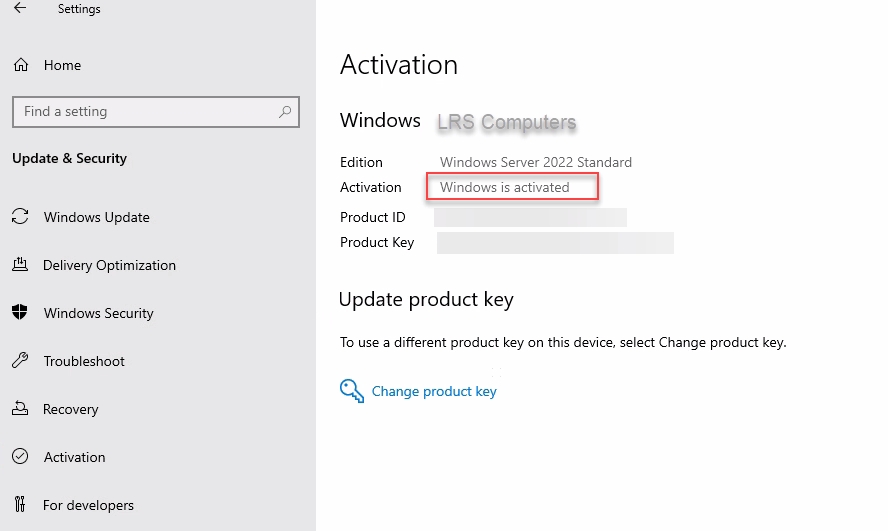
This means you have gone from the trial version to the activated version; however – I would still recommend checking the Activation Settings within Windows. Start typing in Activation Settings within the Taskbar Search and click on the Search result;

In this case, you can see that we don’t have a valid license even though we do;
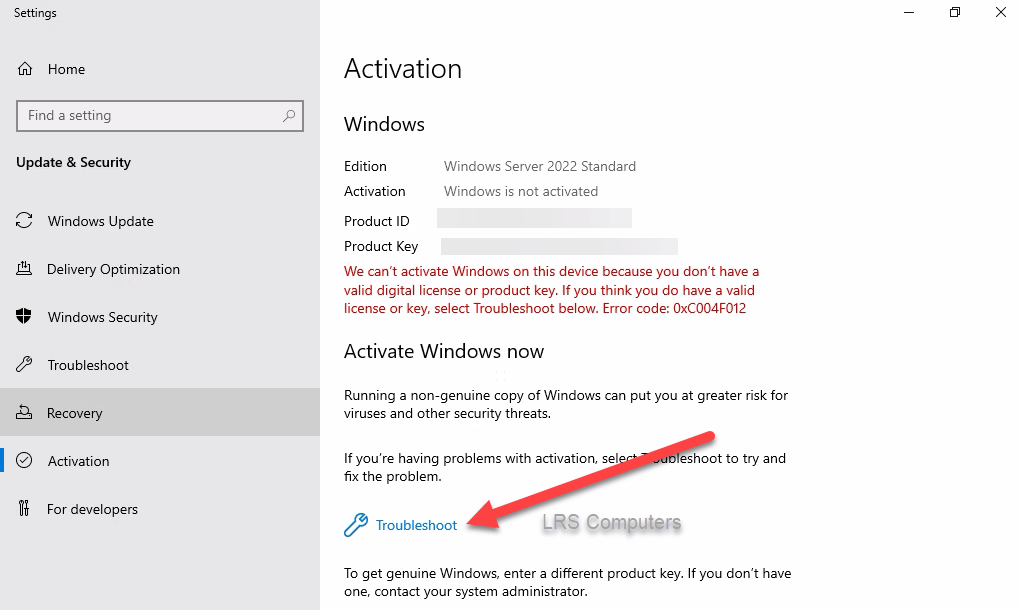
To fix this, click on Troubleshoot and a new Window will appear;
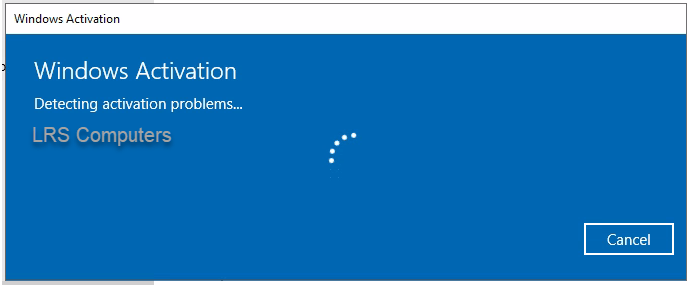
Give it a bit of time and it should eventually activate Windows;
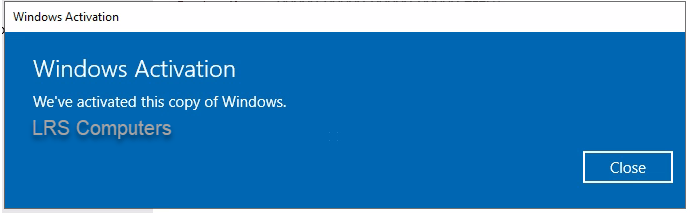
If you still have an issue, such as it won’t activate, it should show an error code – which will point to the issue.
