In a previous post, I explained how we push out Defender for Endpoint via Microsoft Intune and the Microsoft 365 Admin Portal. (Intune Post)
In this post, I will explain how I install Defender for Endpoint via a Group Policy within an Active Directory environment.
You can use the below as a template, and reconfigure some steps for your own requirements.

The Onboarding Package
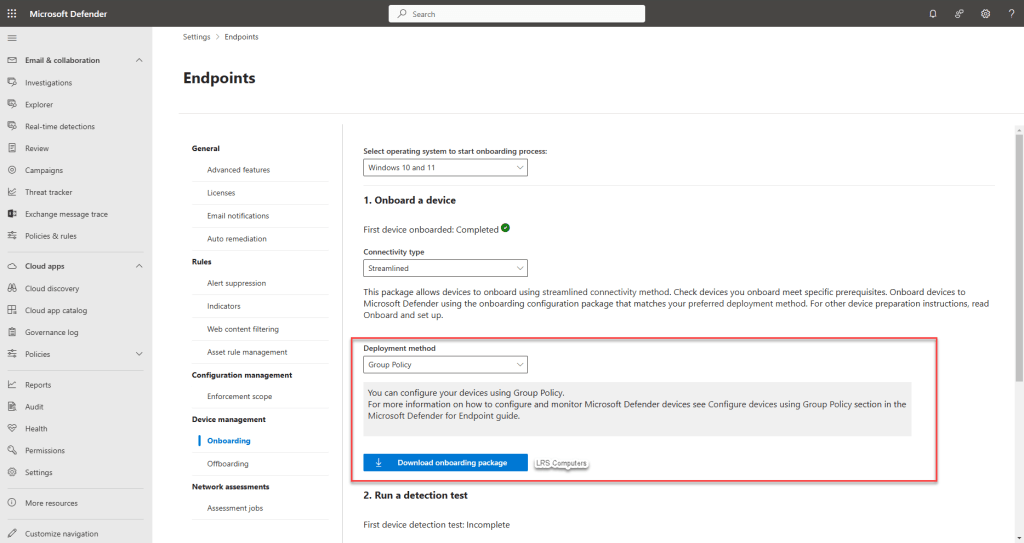
Before we start making a new Group Policy, we need to grab the onboarding package via your Microsoft 365 Security Portal – security.microsoft.com.
Once you’re in your Security Portal, go to Settings > Endpoints > Onboarding > Change Deployment Method to Group Policy > Download onboarding package.
Once you download the onboarding package, you may want to rename the folder to something simpler and extract the contents.
Once extracted, it will contain a folder called OptionalParamsPolicy and a file called WindowsDefenderATPOnboardingScript.cmd.
Pre-setup
This part is optional – before I create the Group Policy, I like to configure a Security Group on the Active Directory, then we can make the computers members of this group to gradually push out Defender for Endpoint. The only downside to this, once a new computer is added to Active Directory – you will need to add that machine into the Security Group,
So, in Active Directory Users and Computers > Expand your Computer OU > Right-Click > New > Group > Defender and keep the rest the same;

Network Share, for a computer to install Defender for Endpoint – it will need to retrieve and run the WindowsDefenderATPOnboardingScript.cmd, meaning that the script needs to be saved in a location which computers can talk to. Depending on your configuration, you may have a File Server, where you can save the onboarding script. For example;
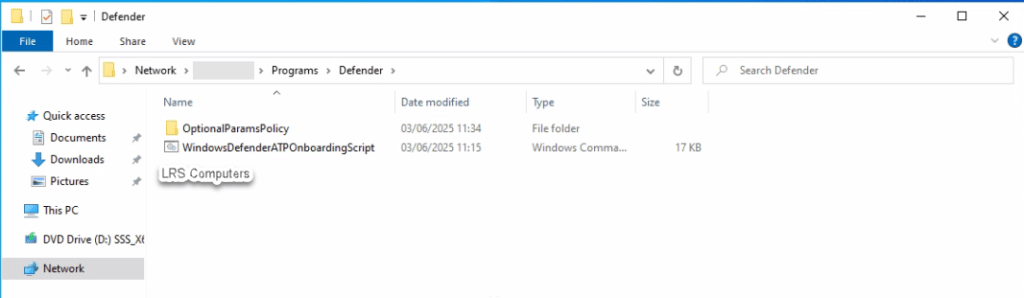
As you can see, it saved on a Network Location > Server Name > Folder > Folder.
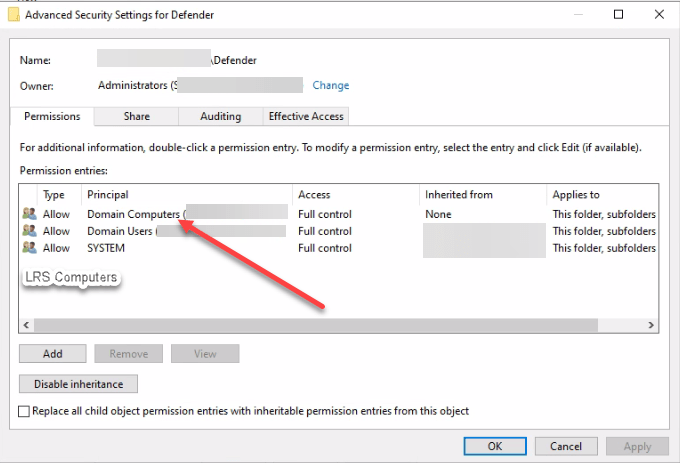
If you have made a Security Group, you need to make sure you’ve added permissions to the folder or add Domain Computers. Right-click the folder > Properties > Security > Advanced > Add > Domain Computers > Full Control > Ok > Ok.
Group Policy
Let’s create the Group Policy. In Group Policy Management, depending on your configuration and requirements, right-click where you want the new Group Policy > Create a GPO in this domain, and Link it here…you may want to create it at top level or within an OU.
I named my policy Defender – Install.
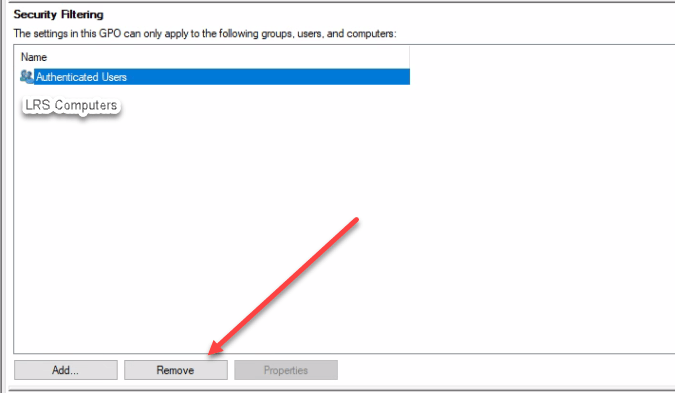
If you’ve not created a Security Group, then you can skip this step. Within the new Policy, under Security Filtering, we need to remove Authenticated Users, and Add our Security Group.
To remove, click on Authenticated Users > Remove
And ignore the warning.
Click on Add, search for your Security Group > Ok.

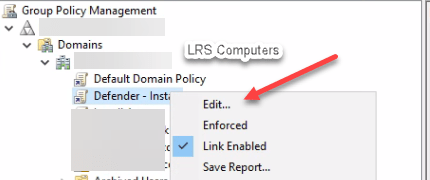
Now, right click your Policy > Edit…;
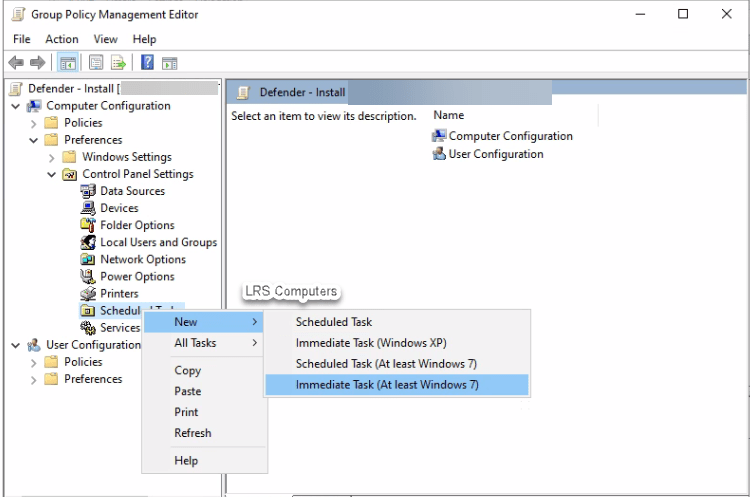
Under the following location, Computer configuration > Preferences > Control Panel Settings > Right-click Scheduled tasks >New >Immediate Task (At least Windows 7).
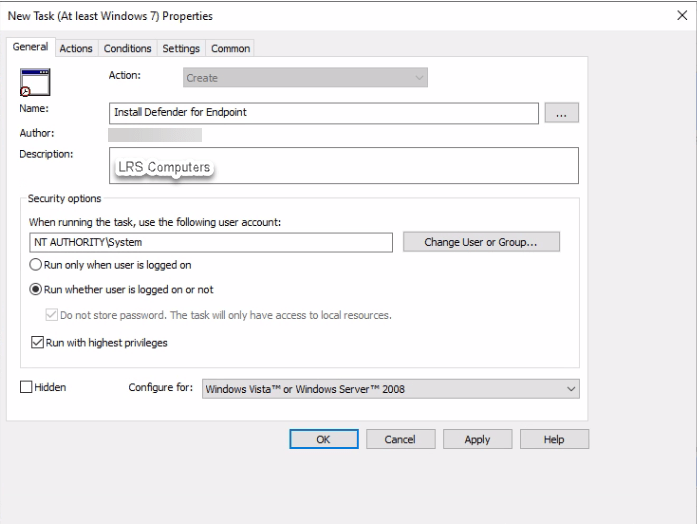
Name: Install Defender for Endpoint
Security Options:
When running the task, use the following user account: NT AUTHORITY\SYSTEM
Run whether user is logged on or not
Run with highest privileges
Go to the Actions tab > New.
Action: Start a program
Program/Script: The full network path of the script location, including \WindowsDefenderATPOnboardingScript.cmd and the end.
Add argument: Leave empty.
Start in: Leave empty.

Click Ok, then Apply > Ok. Then close any Group Policy Windows.
Assign
If you didn’t create a Security Group, then you can ignore this. If you did, we need to assign a computer to our Defender Security Group
In Active Directory Users and Computers > Expand your Computer OU > Right-click on a computer >Add to a group… > Search for Security Group > Ok,
To confirm, it’s been added, right-click the computer > Properties > Member Of and it should display the Security Group;

Restart Computers & Check
After assigning, you may want to run gpupdate /force on the computers, then restart.
Once devices have been restarted, it may take a few – head back to Microsoft 365 Security Portal. Under Assets > Devices – you should see devices to slowly start populating. Devices should appear with the name, assetname.domain and under the domain column, it should state the domain name too;

Once devices are installed, and if I have time to take screenshots – you can create another Group Policy to define how Defender for Endpoint behaves.
You can set policies that tell Defender how often to scan, what you want to scan, how long a threat stays in quarantine, enable tamper protection, and whether you want Defender to search for updates before scanning – there are many different configurations you can set.
